DIY Home Projects: 10 Tips for Changing Your Oven Light
January 08th, 2024
DIY Home Projects: Changing Your Oven Light
Are you thinking of changing your oven light on your own? Here are ten tips to follow when changing your oven light.
If you use your oven often, you may rely on your oven light a lot. The oven light is there to help you see inside the dark oven to make sure whatever you are making is rising and browning correctly. It is such a small thing, but it does have a significant impact on baking.
If you are an avid baker and know how to change a burnt-out light bulb, no worries because changing the light in the oven is a straightforward process, and following all these steps will ensure you entirely and safely replace the bulb without getting hurt or spending a lot of money.
Oven lights are essential for effectively tracking the process of your food. These lights will go out from time to time, like any other light in your home. This task is a simple task that you can accomplish yourself and will help improve your home, so keep reading to learn more about how to complete this task in the best way to avoid any headaches for homeowners. DIY projects are fun and affordable, so if you are looking for something easy to do, look no further.
Here is how to change your oven light on your own.
Chapters
1. Make Sure The Bulb is the Problem
If the light on the oven is not working, it does not mean that the light of the bulb is out. The light not turning on could mean there is an issue with the electricity, so make sure the power cord is plugged into a working outlet. You do not want to spend unnecessary money on something.
Check other parts of the oven to ensure it is working like the clock to rule out. Make sure the circuit is not shut off and that the other switches are functioning correctly before you go ahead and buy a new bulb. Electricity can be a trick thing, so just be aware.
2. Buy the Correct Bulb
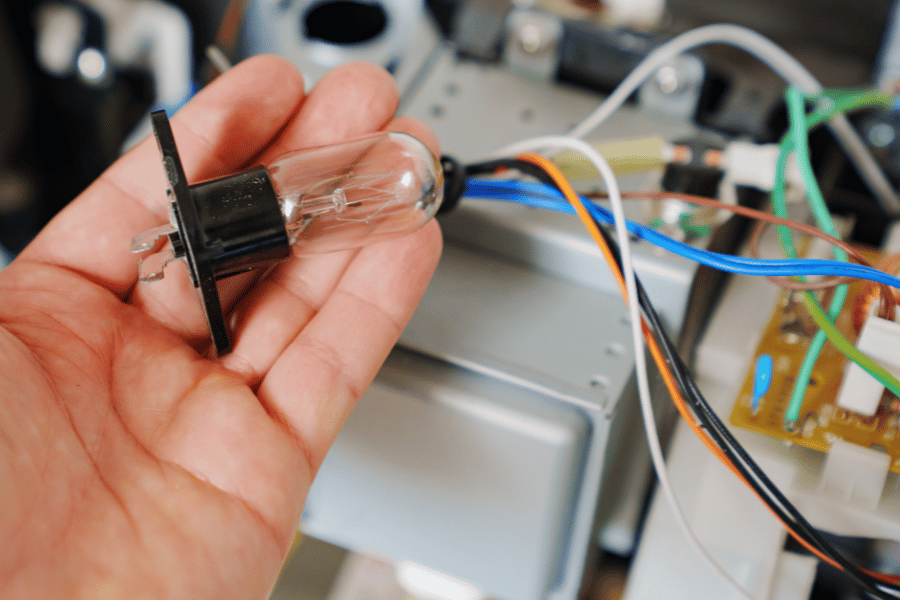
Not every oven has the same light bulb, so the easiest way to find out what bulb you need is to check your oven's manual. However, realistically, many people do not keep the manual, so if that is you, no worries, use an online service to find that out.
Worse case, you can follow the rest of the steps to remove the bulb and then bring it to your local hardware store, and they can tell you precisely what bulb to get. Make sure you get the right one and do not waste time or money on this simple step.
3. Let The Oven Cool Off
This is a simple step that many people skip over. You will usually know the bulb is dead after cooking or after heating up the oven, so it is best to wait at least a day to extract the bulb. Wait for the oven to go back to room temperature.
However, it is not 100% necessary to do this, but to be safe for nothing wrong to happen, you may want to cut the power and unplug the oven before reaching in and extracting anything.
4. Find The Bulb
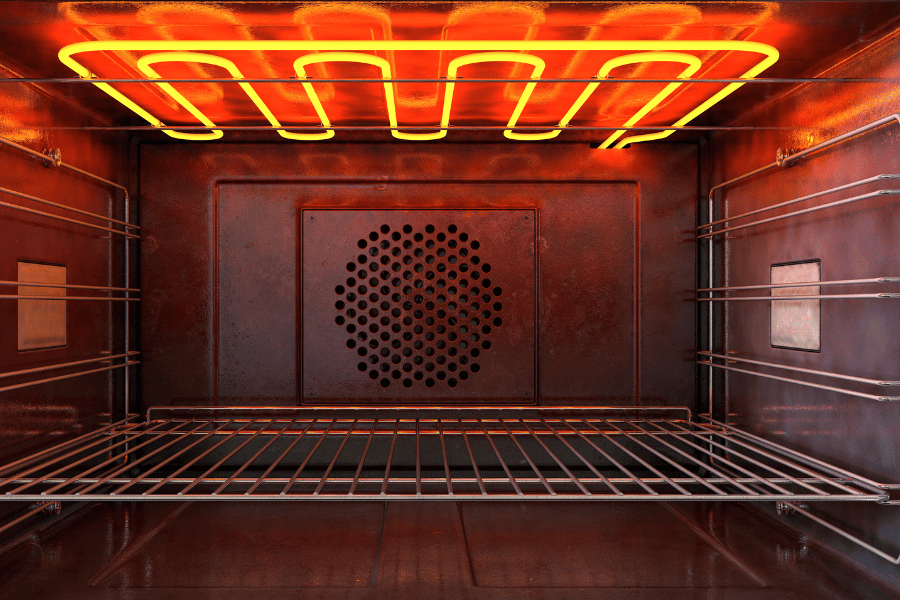
Every oven is different and crazy enough; most ovens make it almost impossible to find the light in there, especially if it is off and dark inside. The bulb should be located behind a shield or cover in the oven.
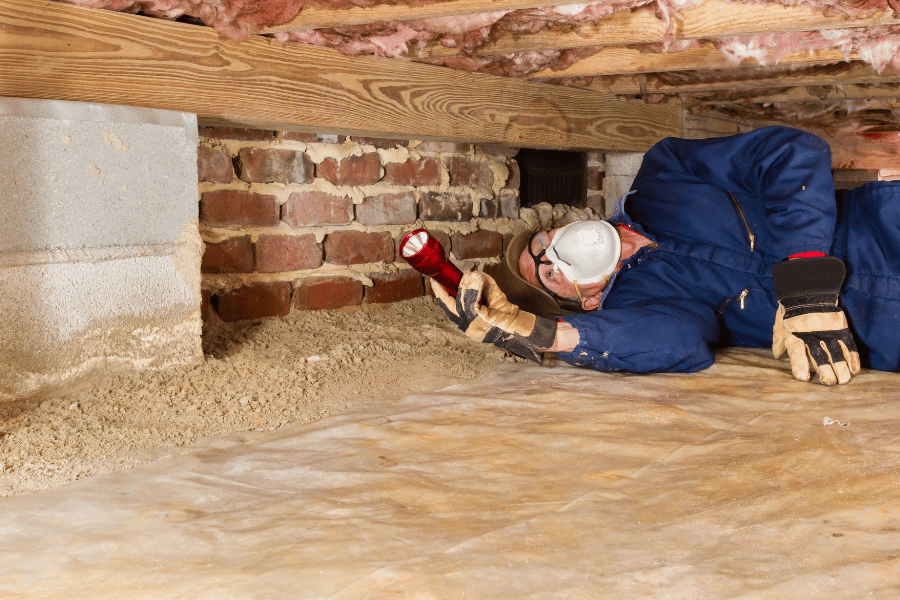
You may need a flashlight to look inside the oven; also, keep in mind you do not want to lay your body weight on the oven door or anything inside to prevent breaking anything.
5. Unclip and Unscrew
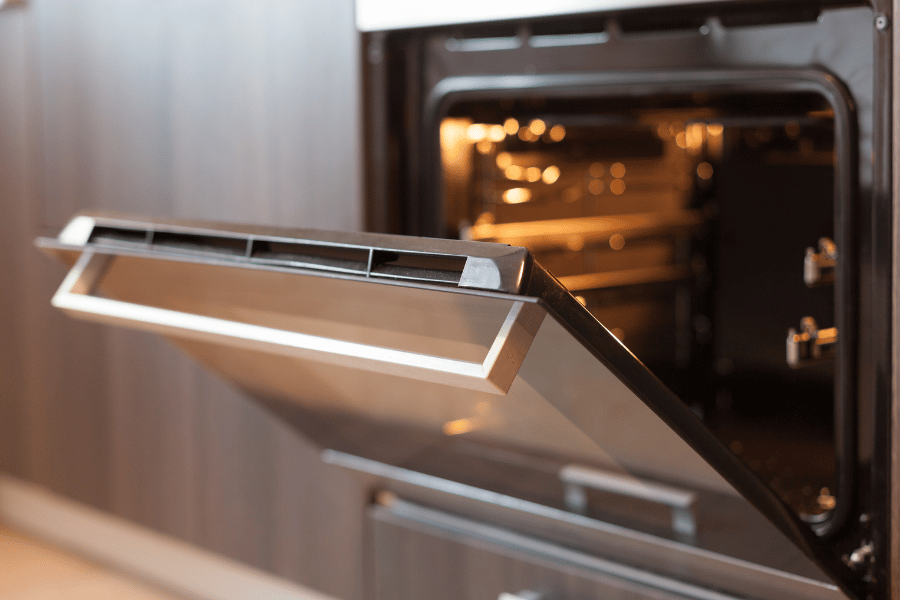
Once you are in the oven and find out the location of the bulb, you will need to find the shield or cover and gently pull or twist it, and it should come off quickly.
Some of the covers are glass and surrounded by a wire clip or ring that is screwed in the back. If it has that, you will need to remove the clip and unscrew the glass cover, but make sure you do not break it. It should come off like the cover of a jar.
6. Using Oven Without Light
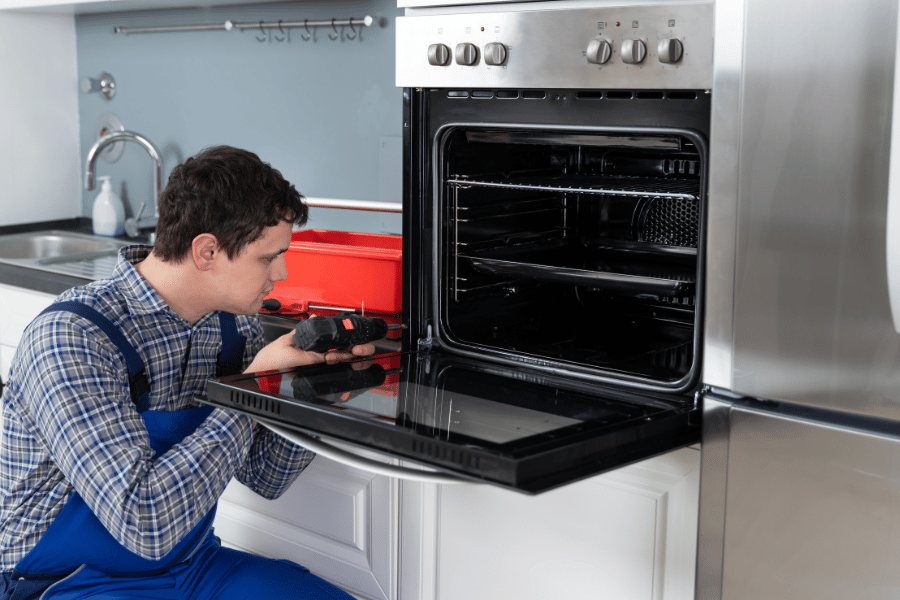
You may still be able to use the oven without the bulb. If the bulb is burnt out or not working, the oven may be used as usual; however, if the bulb is broken or shattered, do not use the oven because that is dangerous.
The lack of light is the biggest reason why people do not use the oven without the light bulb, but other than that, it is okay to use it.
7. How Long Should It Last?
Typically, oven light bulbs will last about 900 hours, give or take. However, remember that this varies depending on the bulb type, how long you use it at once, and many other things. Oven lights do last long, though, so do not be worried about needing to replace the bulb very often.
8. Why is it Burning Out?
There can be a couple of reasons why your bulb is burning out. If the light bulb keeps burning out, you may need to check that you are using the correct light bulb, as stated in your Use and Care Guide.
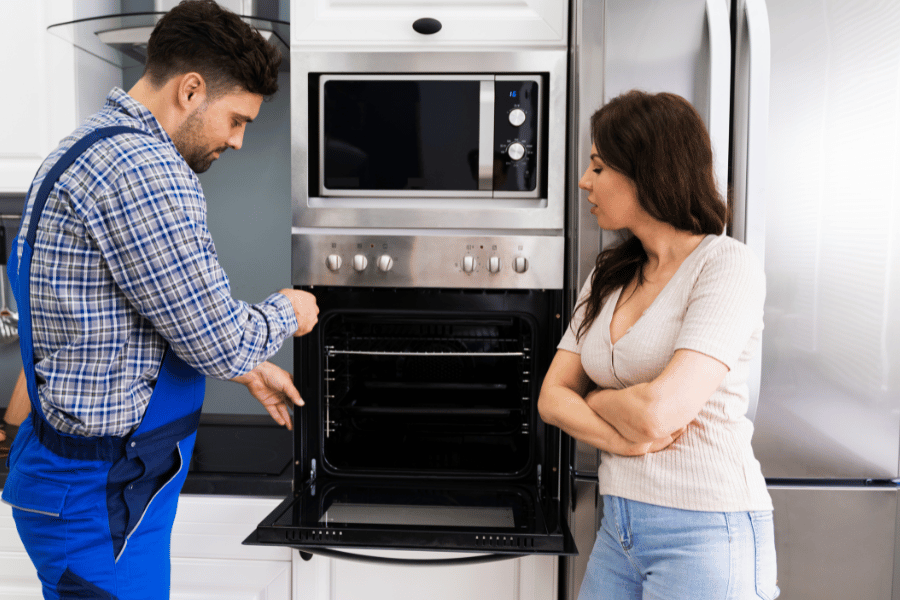
Light bulbs can frequently burn out, and that can be due to many other reasons, such as significant electrical issues in which you will need a professional to come out and do repairs. Scheduling a professional to come out is accessible online, so make sure you figure out precisely what the issue is to avoid any new problems and mistakes.
9. What if it is Stuck?
When you are changing your oven light bulb, it can possibly get stuck or even break. When dealing with a light bulb that is broken or stuck, you need to make sure any power is disconnected before doing any work inside the oven. On the other hand, you need to make sure you take care of any broken glass with protective gloves.
If you are okay with working with sharp objects, here are the steps to follow to remove a broken light bulb in your oven. If you are not comfortable with this, call a qualified electrician to come help.
- Unplug the oven or shut off the power completely
- Put on a pair of protective gloves for safety
- Remove the oven light bulb cover
- If the oven light bulb is broken into pieces, use a vacuum cleaner to remove all broken glass from the light bulb holder
- Using your hands or pliers, gently remove the broken light bulb from the socket
- Insert the new light bulb into the socket and replace the light bulb cover
- Put the oven back in and turn the power back on
On the other hand, the oven light bulb cover may be stuck. Here are the options for removing the oven light bulb cover.
- Option 1: you can check for screws. Removing all the screws will help the cover come off easily rather than twisting and yanking on the cover.
- Option 2: Spray some lubricant around the stuck light bulb cover and let it sit there for a little time to loosen the cover enough to get it off.
- Option 3: Use protective gloves and a strip of rubber or non-slip material and apply gentle pressure to remove the cover. If it breaks, follow the precautionary steps with the glass.
- Option 4: Sometimes, if the oven cover is very stuck, you may need to get hold of a replacement oven light bulb cover because sometimes it's easier to break the cover off and just replace it carefully.
10. Overall Step by Step Instruction
Here are the overall steps to changing your oven light simplified.
- Cut off the power: this is to make sure you are safely entering the oven
- Clear the workspace and find the light bulb: Removing the racks inside the oven may help a lot because most bulbs are hidden behind the covers.
- Remove the lightbulb cover: After you have found the light bulb cover, you will need to see how it is secured so you can use the right things to remove it. It should come off counterclockwise in a twist. If you are struggling, look at the steps above on how to remove a stuck cover correctly.
Replacing and changing your oven light bulb is an easy task that everyone can do. Following the steps correctly ensures that no mistakes are made, and no messes occur. If you are not comfortable with doing this alone, your best bet may just be hiring a professional to make sure it is done correctly.
FAQS
Is there a particular light bulb for ovens?
Light bulbs for appliances like ovens, microwaves, refrigerators, and other things are specially made to handle that appliance's impact. It is important to use bulbs with the recommended wattage and proper base size, too.
Can I use an LED as an oven light?
No, LED light bulbs do not have the heat-resisting properties of a specialist light bulb designed to operate at high temperatures in an oven. It is recommended to use a halogen or incandescent light bulb for the oven light.
What happens when your oven light bulb goes out?
If the light in your oven goes out or stops working, you will need to replace it so you can see inside the oven when you are cooking. The light may seem like not much use, but if you continuously open the oven door to check on the food, the heat will continue to escape, and the oven will be less efficient.
Can I use my oven if the light cover is broken?
The bulb can function correctly without the glass cover but keep in mind that the tempered glass cover is there to protect the bulb from damage from the pans and trays and also will keep it clean from the hot liquids so it is recommended to not wait so long without a light cover for the bulb.
DIY Home Projects: Changing Your Oven Light
It is important to know the specific type of bulb required before attempting to replace the oven light. This information varies depending on the oven brand and type. Most oven lights are standard 40-watt appliance bulbs, though.
Oven lights are necessary for effectively monitoring the cooking process. Just like any other light bulb in your home, they may need to be replaced from time to time. This is a simple task that you can easily do yourself. Keep reading to learn more about how to complete this task without any complications.
Replacing the oven light is a relatively simple task that should not take much time. However, it is crucial to follow the correct steps to avoid any injuries.
If you use your oven frequently, the oven light can be very useful. It allows you to see inside the oven to ensure that your food is cooking properly. Although it may seem like a small detail, the oven light plays a significant role in baking.
If you have experience changing light bulbs, replacing the oven light should be straightforward. By following the steps mentioned above, you can safely replace the bulb without spending a lot of money or getting hurt.
If you are considering moving, contact us or visit our website. Our team at Raleigh Realty is here to help you with any home buying or selling needs.

Ryan Fitzgerald
Hi there! Nice to 'meet' you and thanks for visiting our Raleigh Real Estate Blog! My name is Ryan Fitzgerald, and I'm a REALTOR® in Raleigh-Durham, NC, the owner of Raleigh Realty. I work alongside some of the best Realtors in Raleigh. You can find more of my real estate content on Forbes, Wall Street Journal, U.S. News and more. Realtor Magazine named me a top 30 under 30 Realtor in the country (it was a long time ago haha). Any way, that's enough about me. I'd love to learn more about you if you'd like to connect with me on Facebook and Instagram or connect with our team at Raleigh Realty. Looking forward to connecting!
Related Blogs
