DIY Home Projects: 7 Tips for Painting Your Mailbox
January 09th, 2024
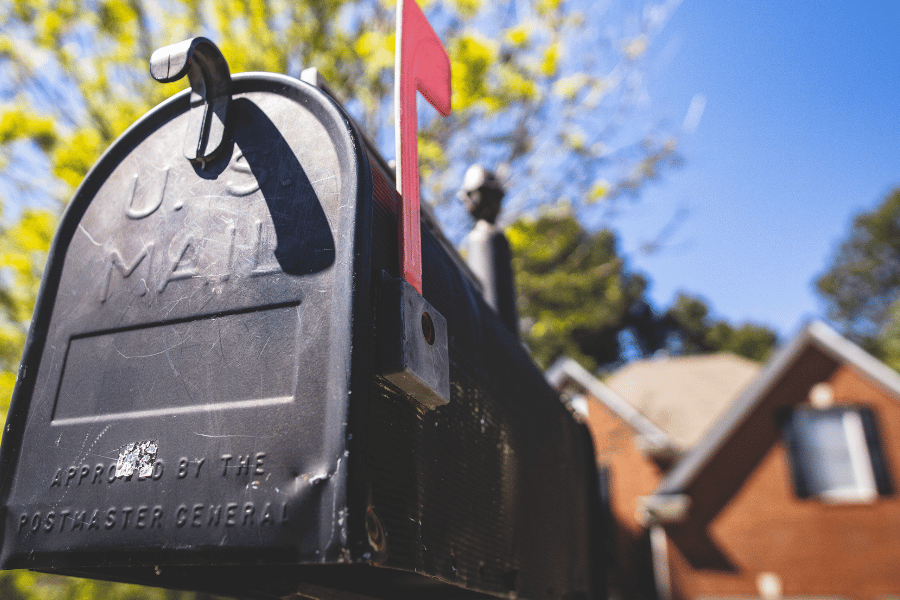
DIY Home Projects: Painting Your Mailbox
Are you looking to spruce up your home with a fresh mailbox paint job? Read on for tips on how to do it affordably.
Are you interested in customizing your mailbox to refresh its look and improve your curb appeal? You are in luck because painting your own mailbox is one of the easiest DIY projects to do and is very affordable. Many people have a hard time finding the perfect mailbox to fit their style, so painting your own is the best way to customize it.
Over time, paint wares off, and metal pieces can get rusted. A mailbox seems like something irrelevant, but having a fresh-looking mailbox has a huge impact on the home and neighborhood appearance for HOA, buyers, or just yourself.
If your mailbox is looking a little rusty and old, you want a color change, or you are just looking for a fun DIY project to spruce up your home affordably, you are in the right place. Here is how you can paint your mailbox for cheap, as well as some tips and tricks for doing so.
Here is how to paint your mailbox affordably.
Chapters
1. Prepare the Mailbox
The first step in the painting process is to remove the whole mailbox from whatever it is attached to. If you can not remove the mailbox, cover the wall or mailbox post with masking paper or painter's tape to protect it from the future process.
You will then want to remove any parts like a hook, latch, house numbers, or anything that can be removed from the mailbox. Since this step can be annoying, you can also cover it with masking paper or painter's tape, which may take longer.

You must clean the mailbox with an all-purpose cleaner and scrub off all the dirt. Make sure you rinse the area with water and let it dry before going to the next step. If there is rust on the mailbox, you will need to use sandpaper or any brush or item that can help remove any loose rust. You may also just sand down the area to have a fresh start.
Keep in mind some USPS has specific requirements for house numbers and glass, so you may want to check those out before you reattach them.
2. Prime the Mailbox
Once you are ready to start the process, you can choose a spray paint primer in a neutral color. If you are spraying the area, make sure to hold the can about 7 inches away from the mailbox and spray it in a side-to-side motion. Doing even strokes, overlapping a little, can help ensure you have spread the whole mailbox evenly.
Make sure in between priming coats; wait until the area is fully dry to ruin any runs or drips. You also should check the weather if you are working outside; if outside does not work for you, you can work in a well-ventilated indoor space.
You may need to apply multiple thin coats rather than one big thigh coat to ensure you get a smooth finish. Priming is an important step to make sure the end results are professional, so make sure you do not rush or skip this step of the painting process.

3. Paint the Mailbox
Make sure you choose a paint that is meant for the material of your mailbox and consider the purpose it will serve. Since mailboxes are mostly outside, you may want to find a durable paint that will not chip off easily. If you are using a metal mailbox, there is paint explicitly made for metal, as well as plastic.
On the other hand, if you are looking to add more to the mailbox, such as designs, you can use outdoor acrylic paint made of metal or plastic to make the design. Just make sure you use the right paint for the material, and it should last you a while.
Once the primer is done, you can start painting the mailbox. The best paint to use for this object would be spray paint since it is quick and easy to apply evenly. There are many spray paint options available for metal and plastic.
You can choose whatever color fits you for the mailbox. However, make sure you read any HOA terms to make sure you follow the rules and restrictions. Other than that, you are welcome to use any spray paint color. You will want to apply at least two coasts to get an even and smooth finish.
Also, do not forget to paint any other additional parts you removed from the mailbox, as well as the sides, corners, and under the mailbox. You want to make sure the mailbox looks professional and well done, so do not rush this simple process to get amazing end results.
4. How to Paint Correctly
You can use either a brush, roller or spray paint to coat the mailbox. Some and most people tend to think the easiest way is to use spray paint to get a smooth, even coat rather than a brush or roller. But it is up to your preference and the type of mailbox you are painting as well.
If you do use a brush or roller, you will want to gently sand the mailbox between coats to smooth out brush strokes to get the perfect smooth finish. Make sure you use fine grit and a light touch to prevent removing all paint. You may also want to use a damp cloth to wipe away the dust before you paint the next coat.
Make sure you let the paint dry completely between coats. You will probably need about two or three coats, but that varies depending on the color and the type of paint you use. You may be able to cover the whole mailbox in one if you are using high-coverage paint.
On the other hand, if you are adding designs to the mailbox, you can just go ahead and paint on top of the paint before adding the top coat.

5. Protect
The last thing and one of the most critical steps to painting a mailbox is protecting your paint job. Some paints may have built-in anti-chip or scratch-proof properties, but others may need a clear top coat to make your hard work last longer. If you do have the built-in properties, you still may want to protect them more; it does not hurt.
You also do not want to forget about any of the extra pieces that you removed from the mailbox. If they need any protection or additional things, make sure you do so before adding them back on.
Before adding the extra pieces, make sure the paint on all parts of the mailbox is completely dry before you move on. If it is dry, that does not mean it is fully cured or dry underneath. Make sure you read the label on your paint for specific dry times; some may need 2 to 4 hours, while others may require up to 72 hours.
Keep in mind that temperature and humidity levels will also affect drying times. Some may dry faster in the weather, while others may not, so just be aware of any other issues before you mess up your paint job. Never hurts to wait longer than expected.
6. Supplies

Here is an overall list of some of the supplies you will need to use and get to paint your mailbox.
Preparing the Painting:
- All-purpose cleaner
- Wire brush, sandpaper (optional)
- Dust cloth (optional)
- Painters tape
- Masking paper
Priming and Painting:
- Outdoor spray primer
- Outdoor spray paint
- or regular paint
- Bush or roller (if not spray painting)
Painting the Post:
- Sandpaper
- Wood filler (optional)
- Outdoor primer and paint
- Outdoor spray primer and paint for the numbers
- Large brush or foam roller
Adding Designs:
- Outdoor paint
- stencils (optional)
- Vinyl (optional)
- Clear, outdoor sealer spray
Overall, you do not need many supplies to paint a mailbox. Buying all the supplies and paint to do your own mailbox is the most affordable option. If you are not artistic, there. There are people out there who do paint mailboxes, but they may charge a lot more than even a mailbox replacement.
The average cost, depending on the supplies you need to buy as well as the type of things you get, will be about $60 to do it on your own. On the other hand, it will cost you about $230 to have a contractor install a new one. If you are working on a budget or looking for a fun thing to do, painting your mailbox on your own may be the best option.
7. Ideas for Mailbox
You may also customize your mailbox in other ways that are not painted, such as using vinyl cut to add numbers and design to the mailbox easily. Some people may prefer more basic colors, while others may like bold colors. There are so many ways to boost the appeal of the mailbox. Below are some of the most popular mailbox designs.
- Coastal vibes: blues, greens, and neutral colors
- Adding plants to make it natural-looking
- Reflective numbers
- Adding flower pots around
- Adding decals
- Copper/vintage looking
- Black and gold
- Wooden panels

FAQS
What kind of paint can I use to paint my mailbox?
The best paint for a metal mailbox will usually be spray paint since it is quick and easy to apply evenly. Many different types of spray paint will give you the perfect finish. Make sure you get a type that matches your material.
How can I decorate my mailbox to look nice?
You can decorate your mailbox in many ways to make it look nice. You can spray paint it, add vinyl numbers, add monogram decals, and line the inside with paper with color or pattern. There are many ways to add appeal to your mailbox.
What is the best color for a mailbox?
The best mailbox color for your home will depend on the color scheme of your home. Jewel tones make an excellent accent color, as well as subtle blues and slate gray.
What are the rules for decorating my mailbox?
The United States Postal Service permits mailbox decoration so long as your creative flights of fancy do not interfere with mail delivery or pickup. This only applies if you have a full-use mailbox with a flag.
DIY Home Projects: Paintig Your Mailbox
If your mailbox looks old and rusty, you want a color change, or you are just looking for a fun DIY project, you can paint your mailbox at an affordable cost. You can easily do it yourself, and here's how.
The average cost will be around $60, depending on the supplies you need and the type of mailbox you have. In contrast, hiring a contractor to install a new mailbox can cost around $230. Painting your mailbox on your own is an excellent option if you are on a budget or looking for a fun project.
Over time, paint wears off, and metal pieces can get rusted. A mailbox may seem like a small thing, but having a fresh-looking mailbox can make a huge difference to your home's appearance and neighborhood. It is also essential if you want to impress HOA, buyers, or even yourself.
Painting your own mailbox is an affordable option as compared to hiring professional painting services. Although there are artists out there who can paint mailboxes for you, their charges may be higher than a mailbox replacement. Painting a mailbox is one of the easiest DIY projects, and you do not have to be artistic to do it. Customizing your mailbox is the best way to find the perfect fit for your style.
If you are considering moving or selling, contact us or visit our website. Our team at Raleigh Realty is here to help you with any home buying or selling needs.

Ryan Fitzgerald
Hi there! Nice to 'meet' you and thanks for visiting our Raleigh Real Estate Blog! My name is Ryan Fitzgerald, and I'm a REALTOR® in Raleigh-Durham, NC, the owner of Raleigh Realty. I work alongside some of the best Realtors in Raleigh. You can find more of my real estate content on Forbes, Wall Street Journal, U.S. News and more. Realtor Magazine named me a top 30 under 30 Realtor in the country (it was a long time ago haha). Any way, that's enough about me. I'd love to learn more about you if you'd like to connect with me on Facebook and Instagram or connect with our team at Raleigh Realty. Looking forward to connecting!
Related Blogs